If you asked us, what is the simplest form of exercise, we would say yoga. All you need is a yoga mat, and the willpower to be consistent. These two things, and slowly you’ll see yourself getting fitter, more energetic, flexible, and feel balanced, calm, and at peace. That’s so many benefits already, and all these can be achieved with these five yoga asanas.
Tadasana or Mountain Pose
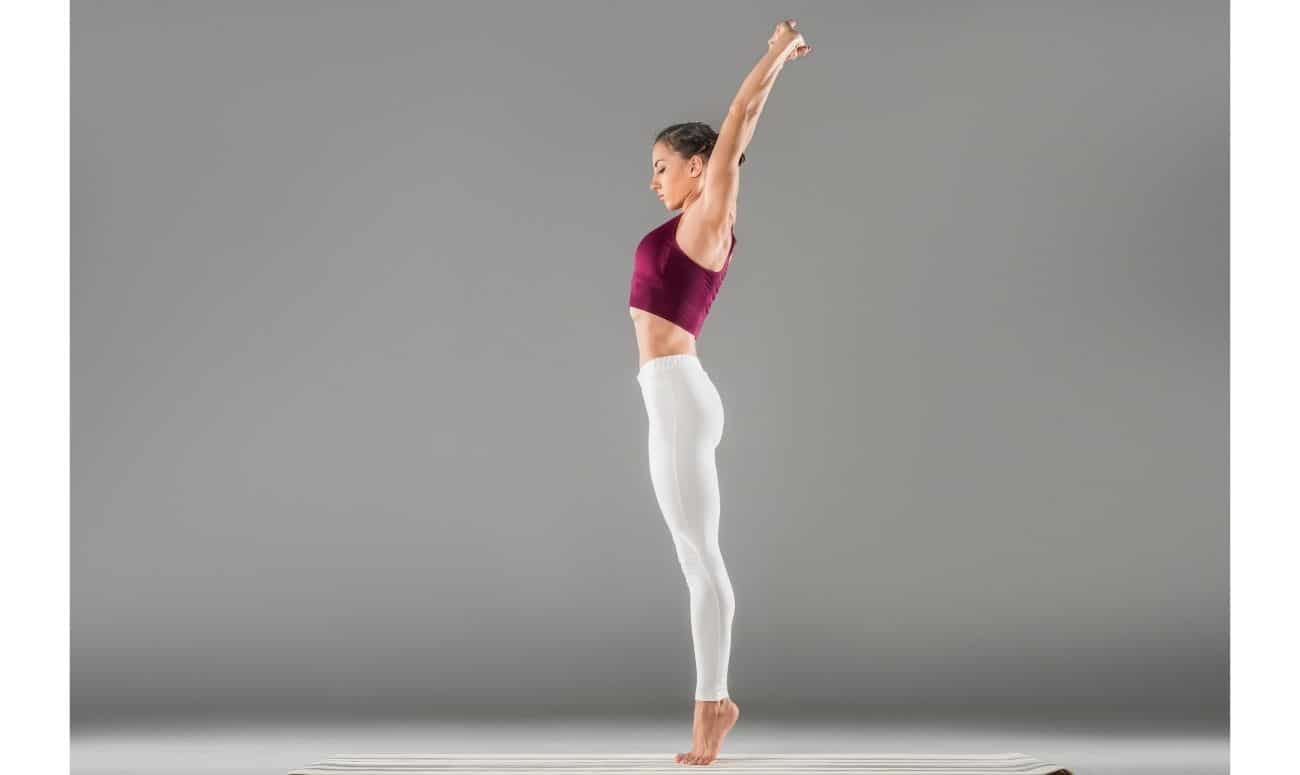
How to do it?
- Stand with your toes touching, with a small amount of space between your heels.
- Root down with your big toe mounds and pull up with your inner arches.
- Draw your shoulders back to align with your side body.
- Stack the crown of your head above your pelvis with your chin level to the floor.
- Press down through the four corners of each foot, and lift through the length of your body, ascending the crown of your head to the ceiling.
- Breathe normally, and repeat this pose five times.
Benefits
Helps in building balance, strengthens muscles, stretches the body, and improves blood flow.
Adhomukhasvanasana or Downward Facing Dog
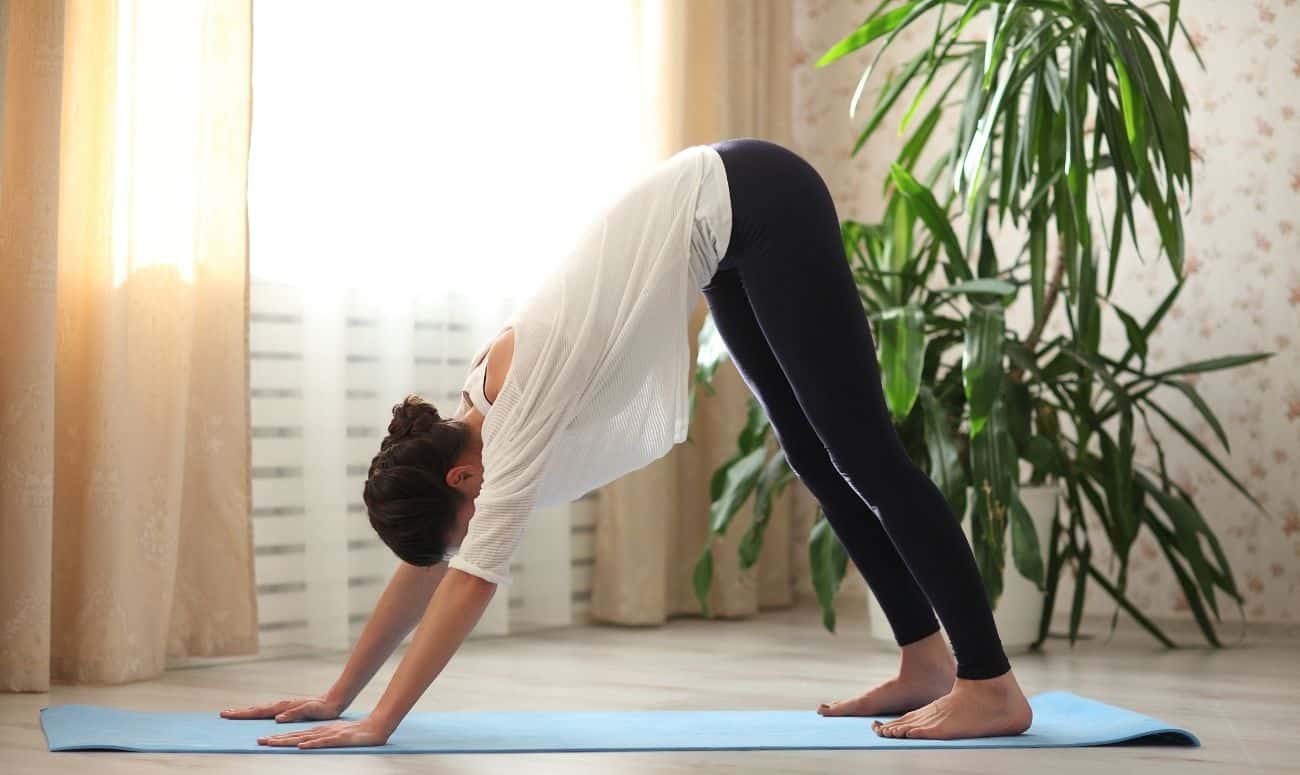
How to do it?
- Set up on all fours with your hands about 3 inches ahead of your shoulders and shoulder-width apart.
- Align your wrist creases so they are parallel to the front edge of the mat, then root down evenly through the whole of each hand.
- Press down firmly with your fingertips to pull your forearms toward the front of the room. Keep your knuckles grounded as you do this.
- Spin your biceps forward while firming your triceps into your midline.
- Roll your inner upper arms toward the wall in front of you while engaging your outer upper arms.
- Inhale, and tuck your toes under; exhale, and press your hips back and up.
- Glance back at your feet to make sure they are hip-width apart and parallel.
- Let your head hang freely so there is no tension in the neck; bring your gaze toward your feet.
- Allow your shoulder blades to spin out and up, away from your spine and toward your outer armpits to maintain the articulation of the bones of your shoulder and spaciousness at the base of your neck.
- Maintain the hand and arm actions from all fours to open your shoulders without overstretching or sinking through the armpits.
- With each exhalation, root down firmly through your hands. With each subsequent inhalation, send your hips back and up even more.
Benefits
Opens up the shoulders, keeps the spine healthy, stretches the hamstrings and calves, relaxes the mind.
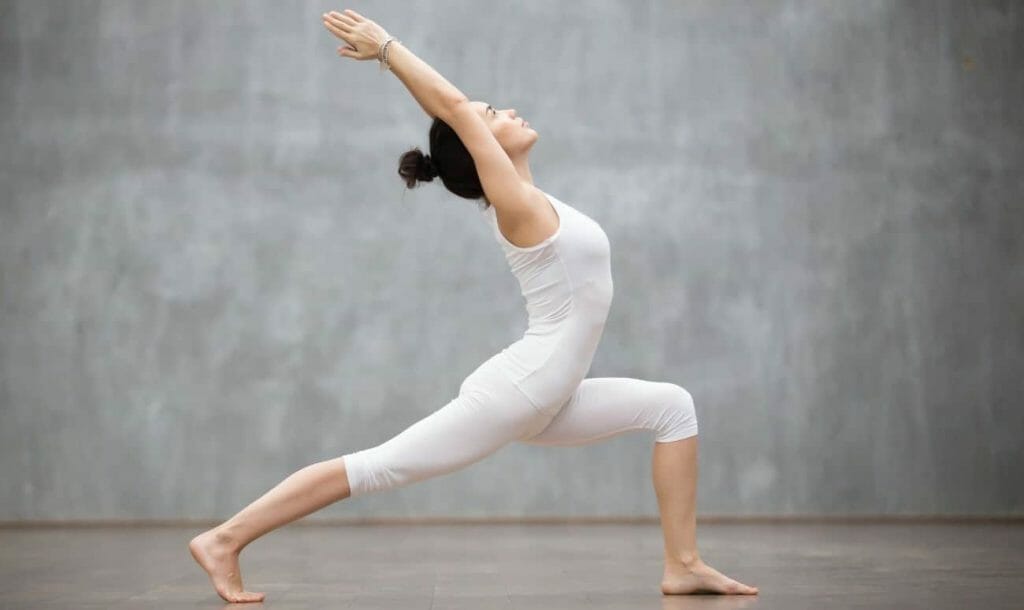
Trikonasana or Triangle Pose
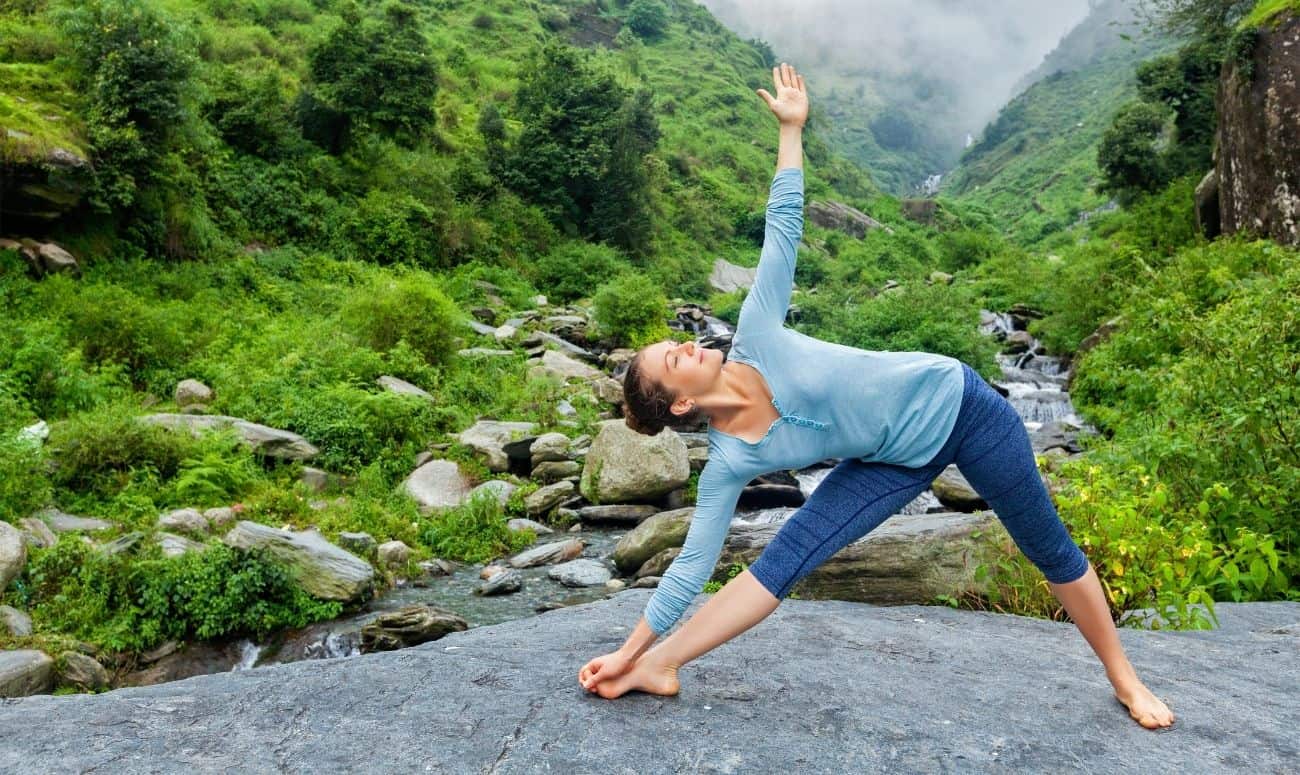
How to do it?
- Engage your right thigh muscles and draw your right femur into its socket. Extend your right hand toward the front of the room, keeping your right hip tucked.
- Lower your right hand down onto your shin or ankle. If you are more open, bring your right hand to the floor on the inside or on the right foot. Do whichever one feels most comfortable.
- The left shoulder stacks on top of the right one as you open your chest, reaching your left fingertips toward the ceiling while keeping your left shoulder rooted in its socket.
- Turn your head to take your gaze up toward your left fingertips. If this is uncomfortable for your neck, it’s also fine to keep the head in a more neutral position.
- Continue to draw your right thigh muscles upward, deepening the crease in your right hip.
- Soften your right knee slightly.
- Stay for at least 5 breaths.
- Repeat with your left leg forward.
Benefits
Promotes body balance, makes the legs, hips, and hamstrings flexible, opens up the chest, and improves back flexibility.
Vrikshasana or Tree Pose
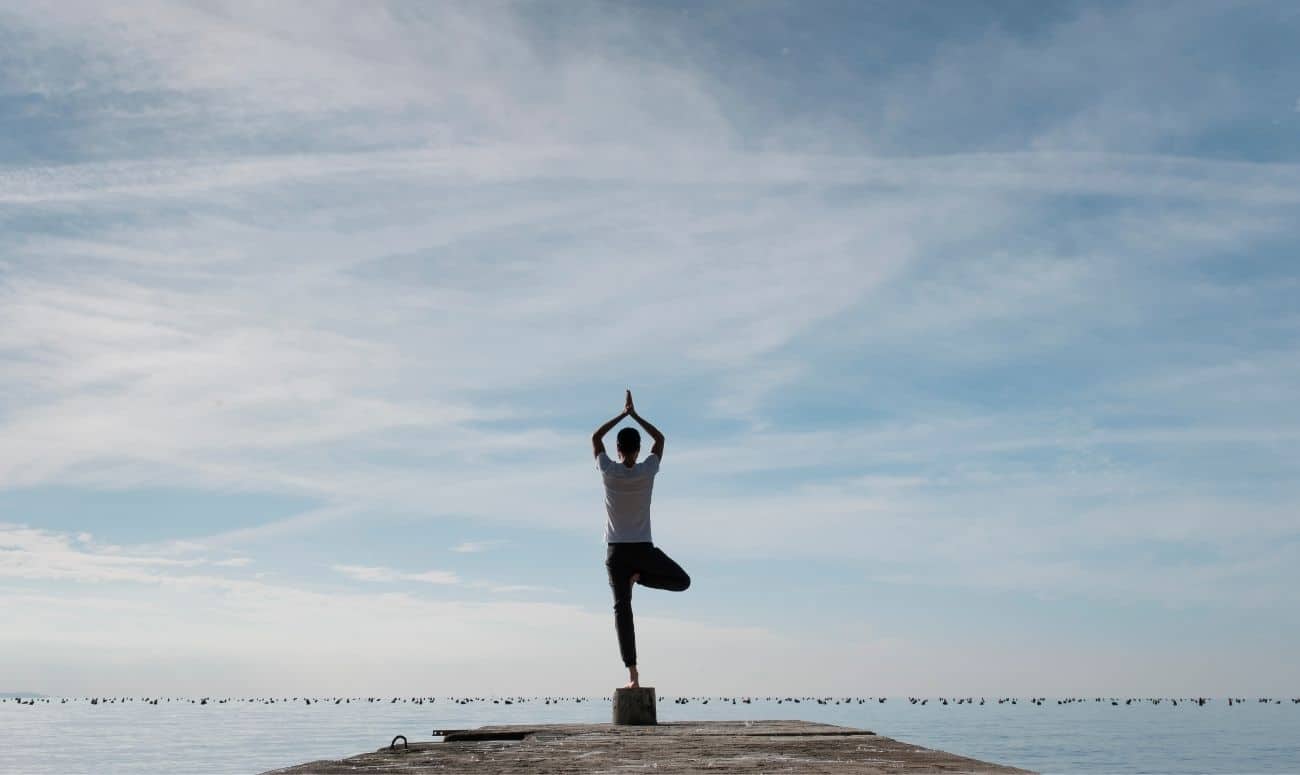
How to do it?
- Take a moment to feel both your feet root into the floor, your weight distributed equally on all four corners of each foot.
- Begin to shift your weight into your right foot, lifting your left foot off the floor. Keep your right leg straight but don’t lock the knee.
- Bend your left knee and bring the sole of your left foot high onto your inner right thigh.
- Press your foot into your thigh and your thigh back into your foot with equal pressure. This will help you keep both hips squared toward the front, so your right hip doesn’t jut out.
- Focus your gaze on something that doesn’t move to help you keep your balance.
- Take 5 to 10 breaths, then lower your left foot to the floor and do the other side.
Benefits
Boosts body balance, strengthens the core, and improves concentration.
Balasana or Child’s Pose
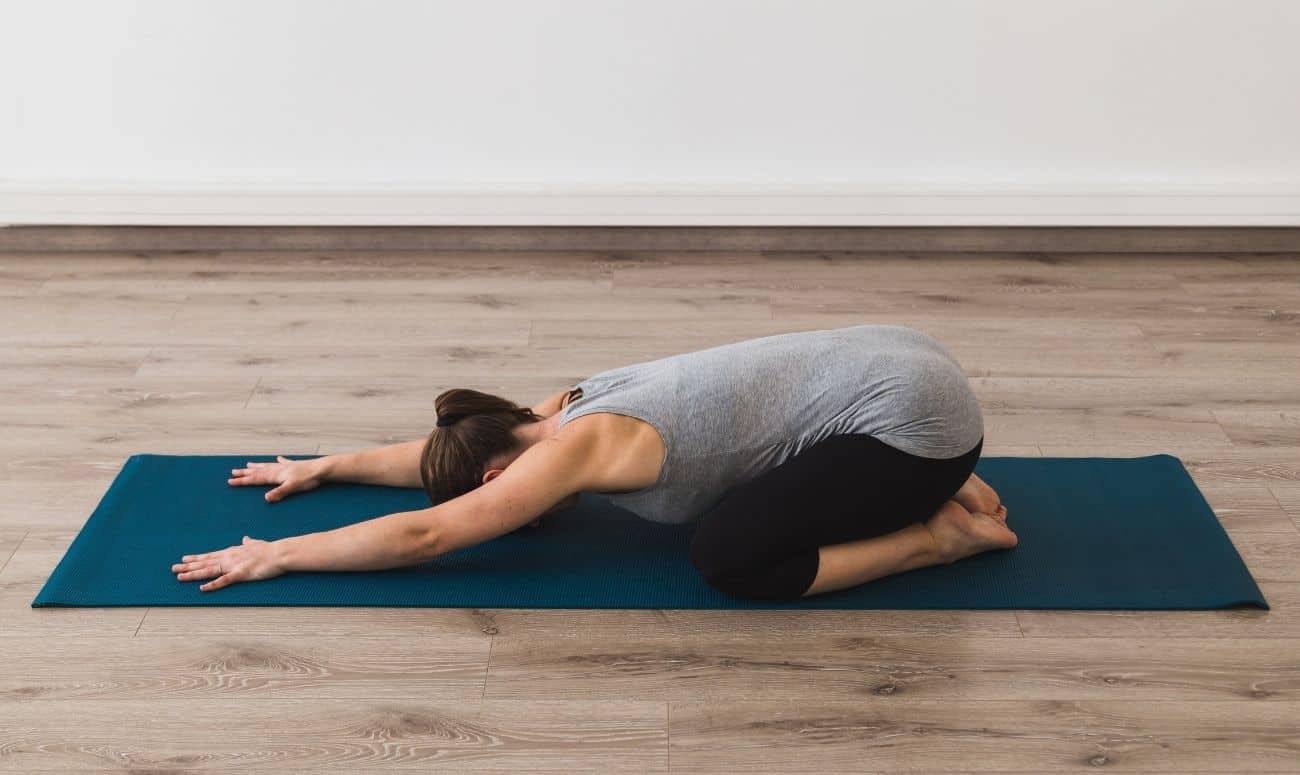
How to do it?
- Kneel on the floor with your toes together and your knees hip-width apart.
- Rest your palms on top of your thighs.
- On an exhale, lower your torso between your knees. Extend your arms alongside your torso with your palms facing down.
- Relax your shoulders toward the ground.
- Rest in the pose for as long as needed.
Benefits
Provides deep calmness to the mind, improves flexibility in the muscles of the hips and thighs, relaxes the back and neck.
See, not that difficult, right?
Get your mat, and off you go exploring the soothing world of yoga.
Read more: 8 Planet-friendly Cookbooks That Belong In Every Sustainable Kitchen
Like & Follow ThinkRight.me on Facebook, Instagram, Twitter, and Telegram to stay connected.